Professional & Experienced Asphalt
Paving In Newton, Ma
Licensed & Insured Serving All of
The Greater Boston Area
All Our Services
Your driveway, walkways, and patio are more than just functional—they create a lasting first impression of your home or business. With 30 years of experience in commercial and residential paving, hardscaping, and masonry, Pave Tech delivers expert craftsmanship that enhances both beauty and durability.
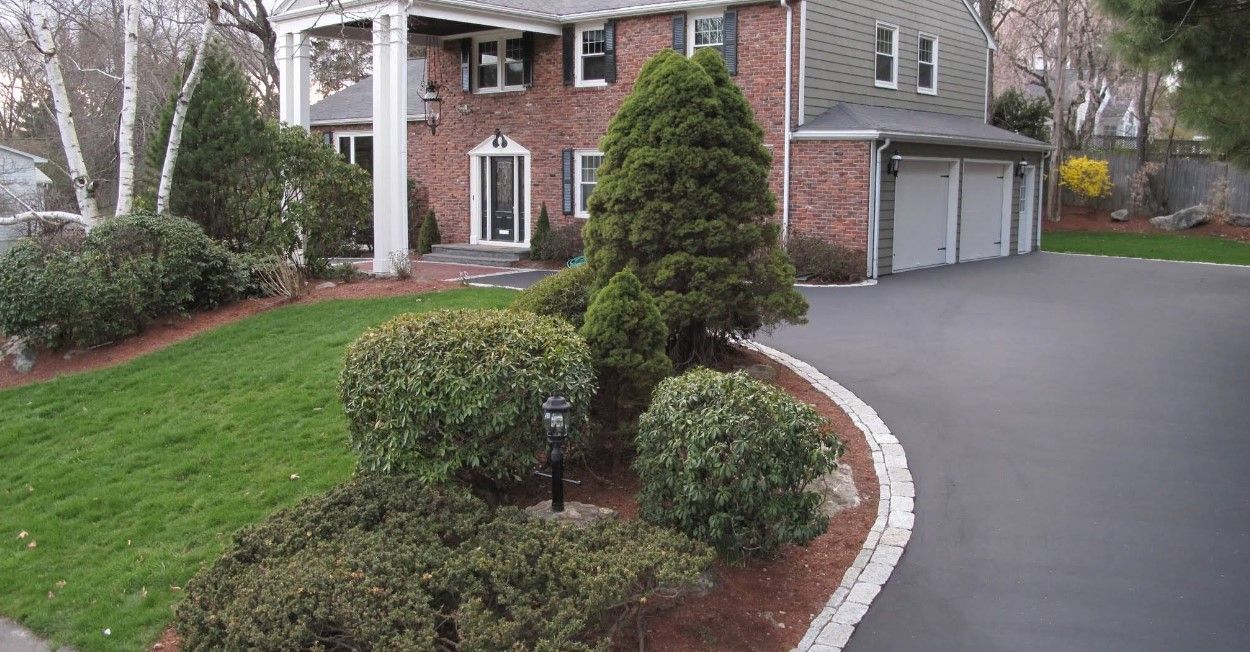
Driveway Paving
This process involves the paving of a driveway using asphalt. Asphalt is a strong and durable paving material, making it one of the popular among many people.
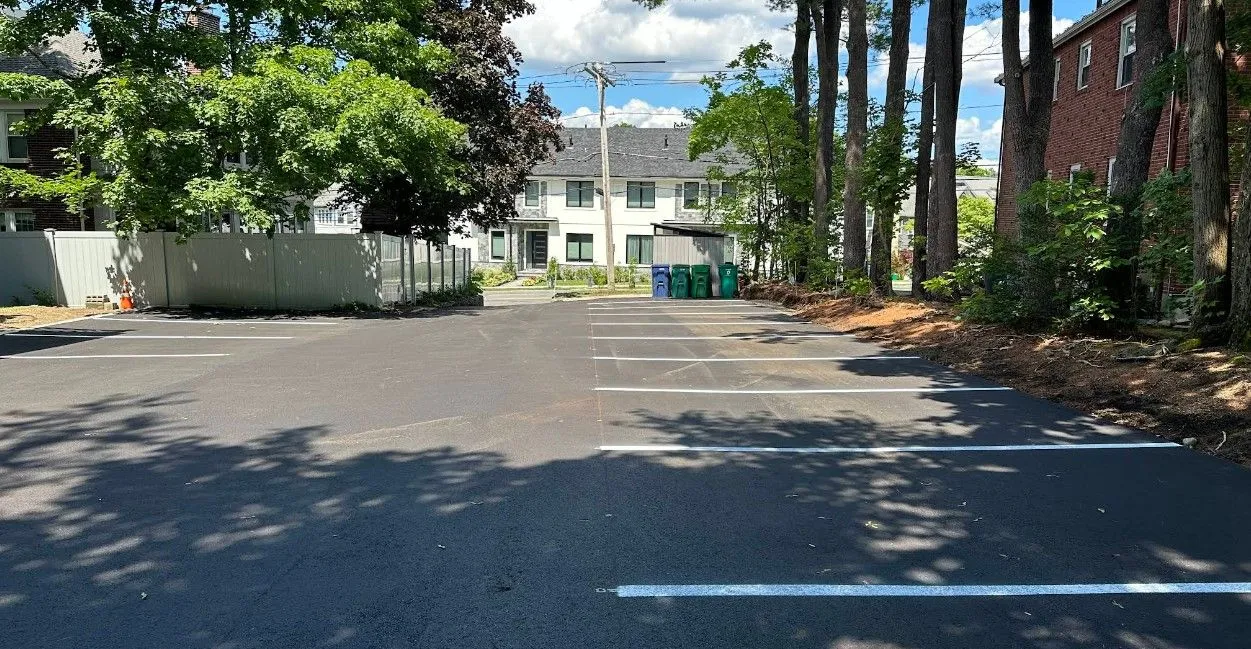
Parking Lot Paving
You’ve invested a lot of time and money into your asphalt. It’s the perfect place for customers to park their cars, but it can also be damaged by weather conditions over time.

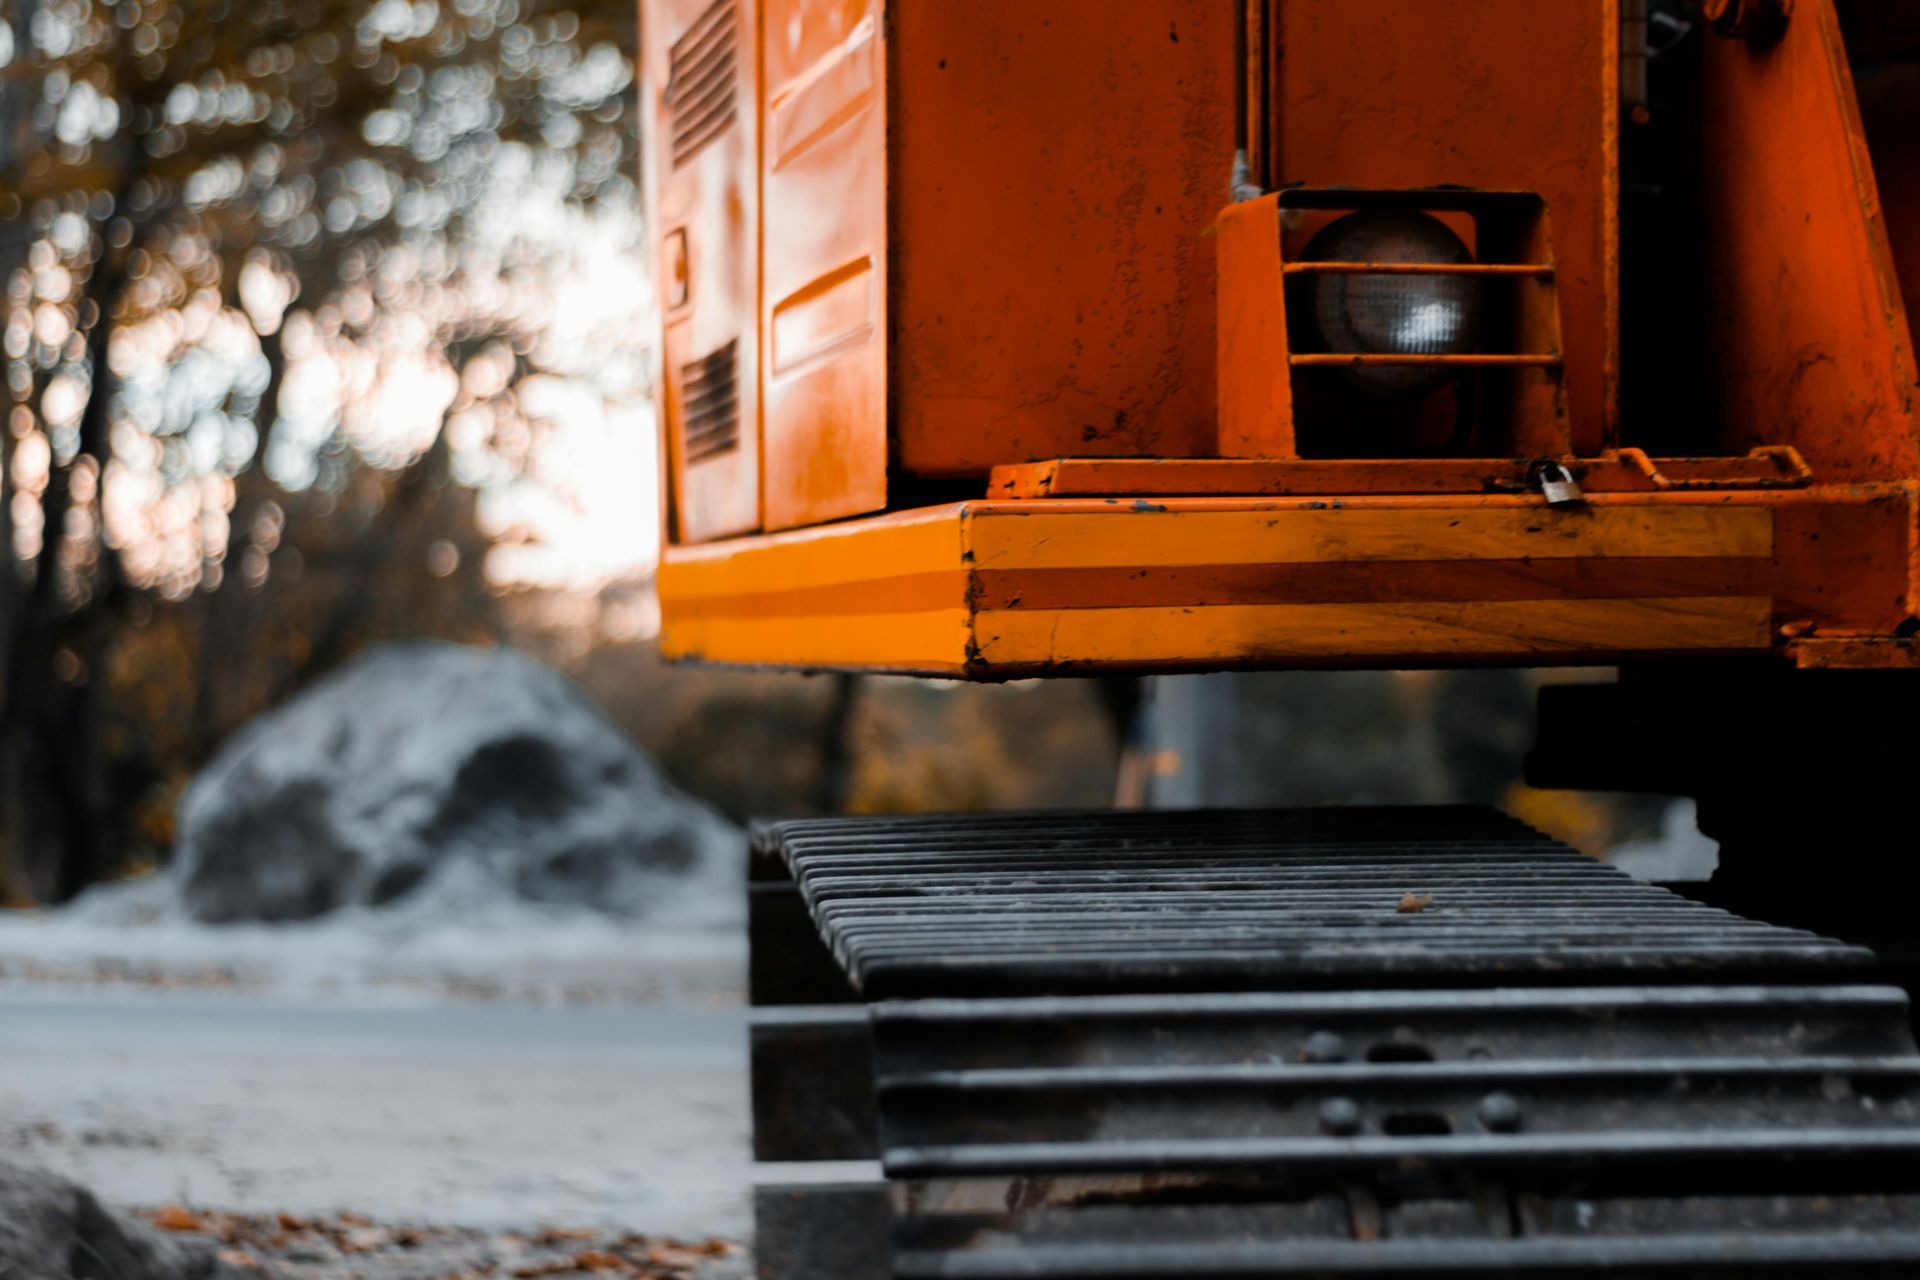
Asphalt milling and paving services require careful planning, proper execution, and regular maintenance to ensure long-lasting results.
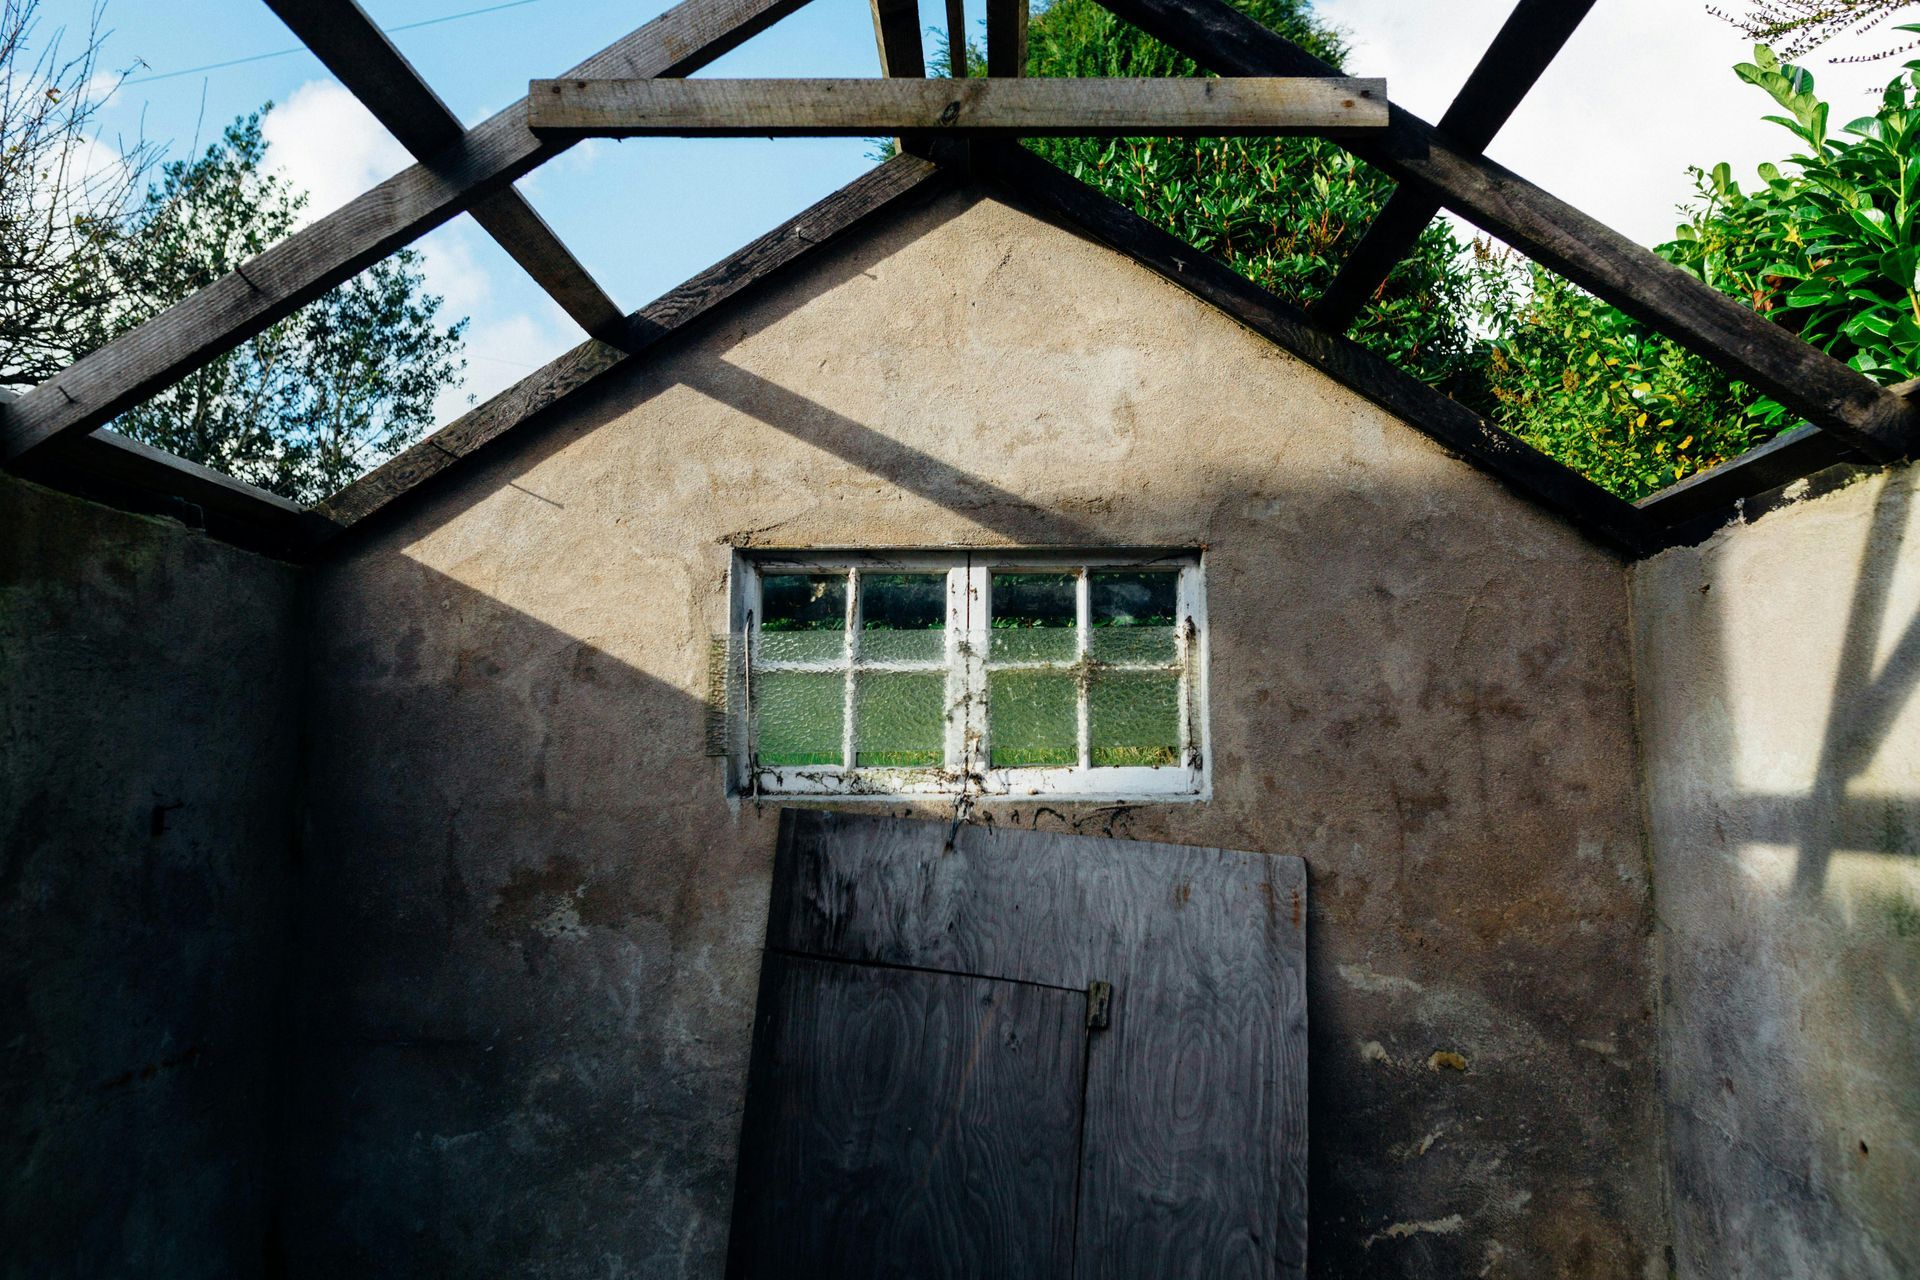
Demolition
From commercial building demolitions to residential teardowns, we bring your visions to fruition.
Projects become streamlined and efficient under our care.
Excavation
Excavation services play a fundamental role in preparing construction areas for various purposes. By creating foundations for buildings and preparing the ground for landscaping or utility installations.
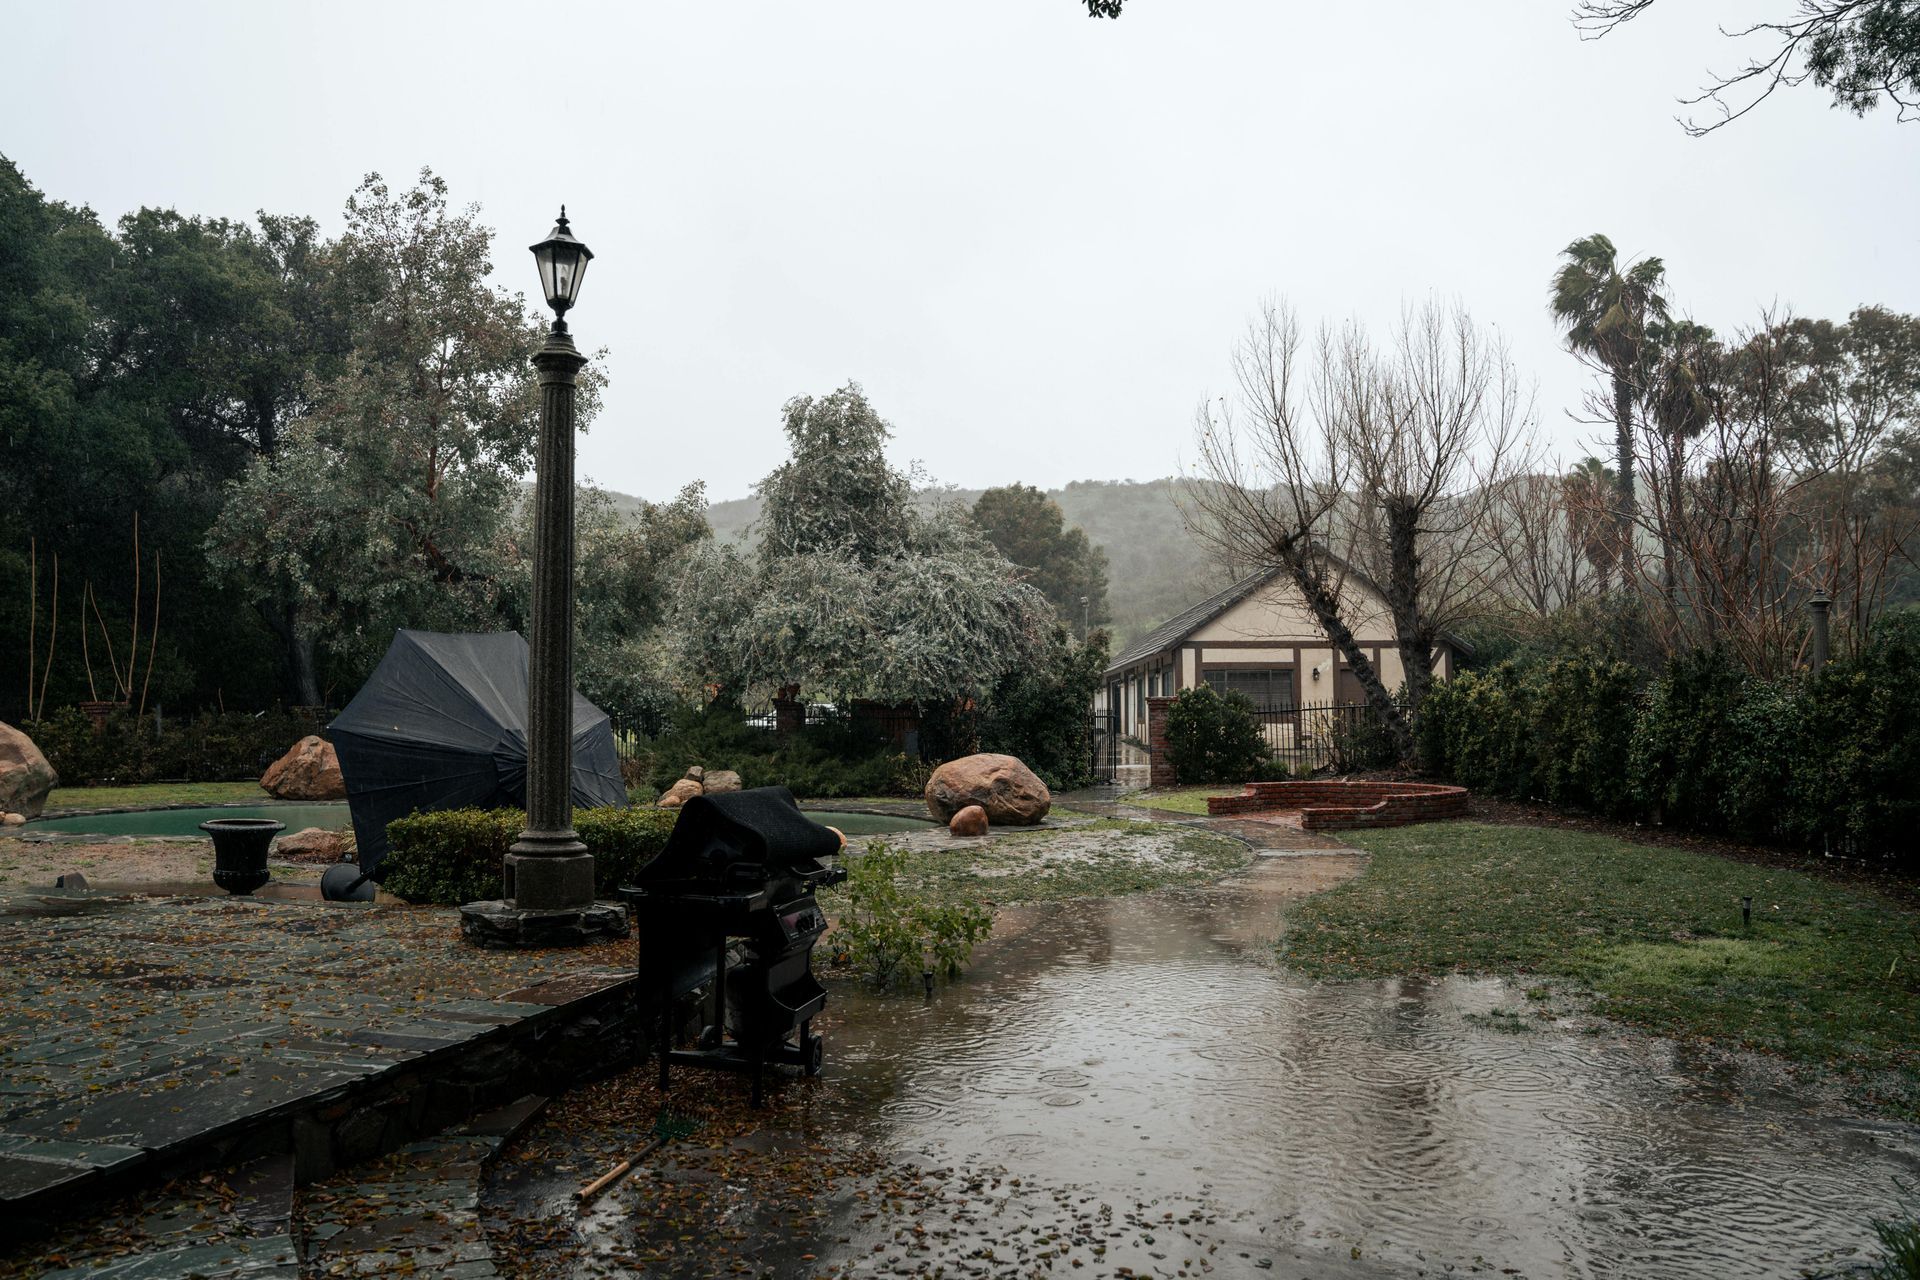
Drainage Systems
If you need drainage installation services, Pave Tech LLC has you covered. We take pride in providing a complete range of road work solutions.
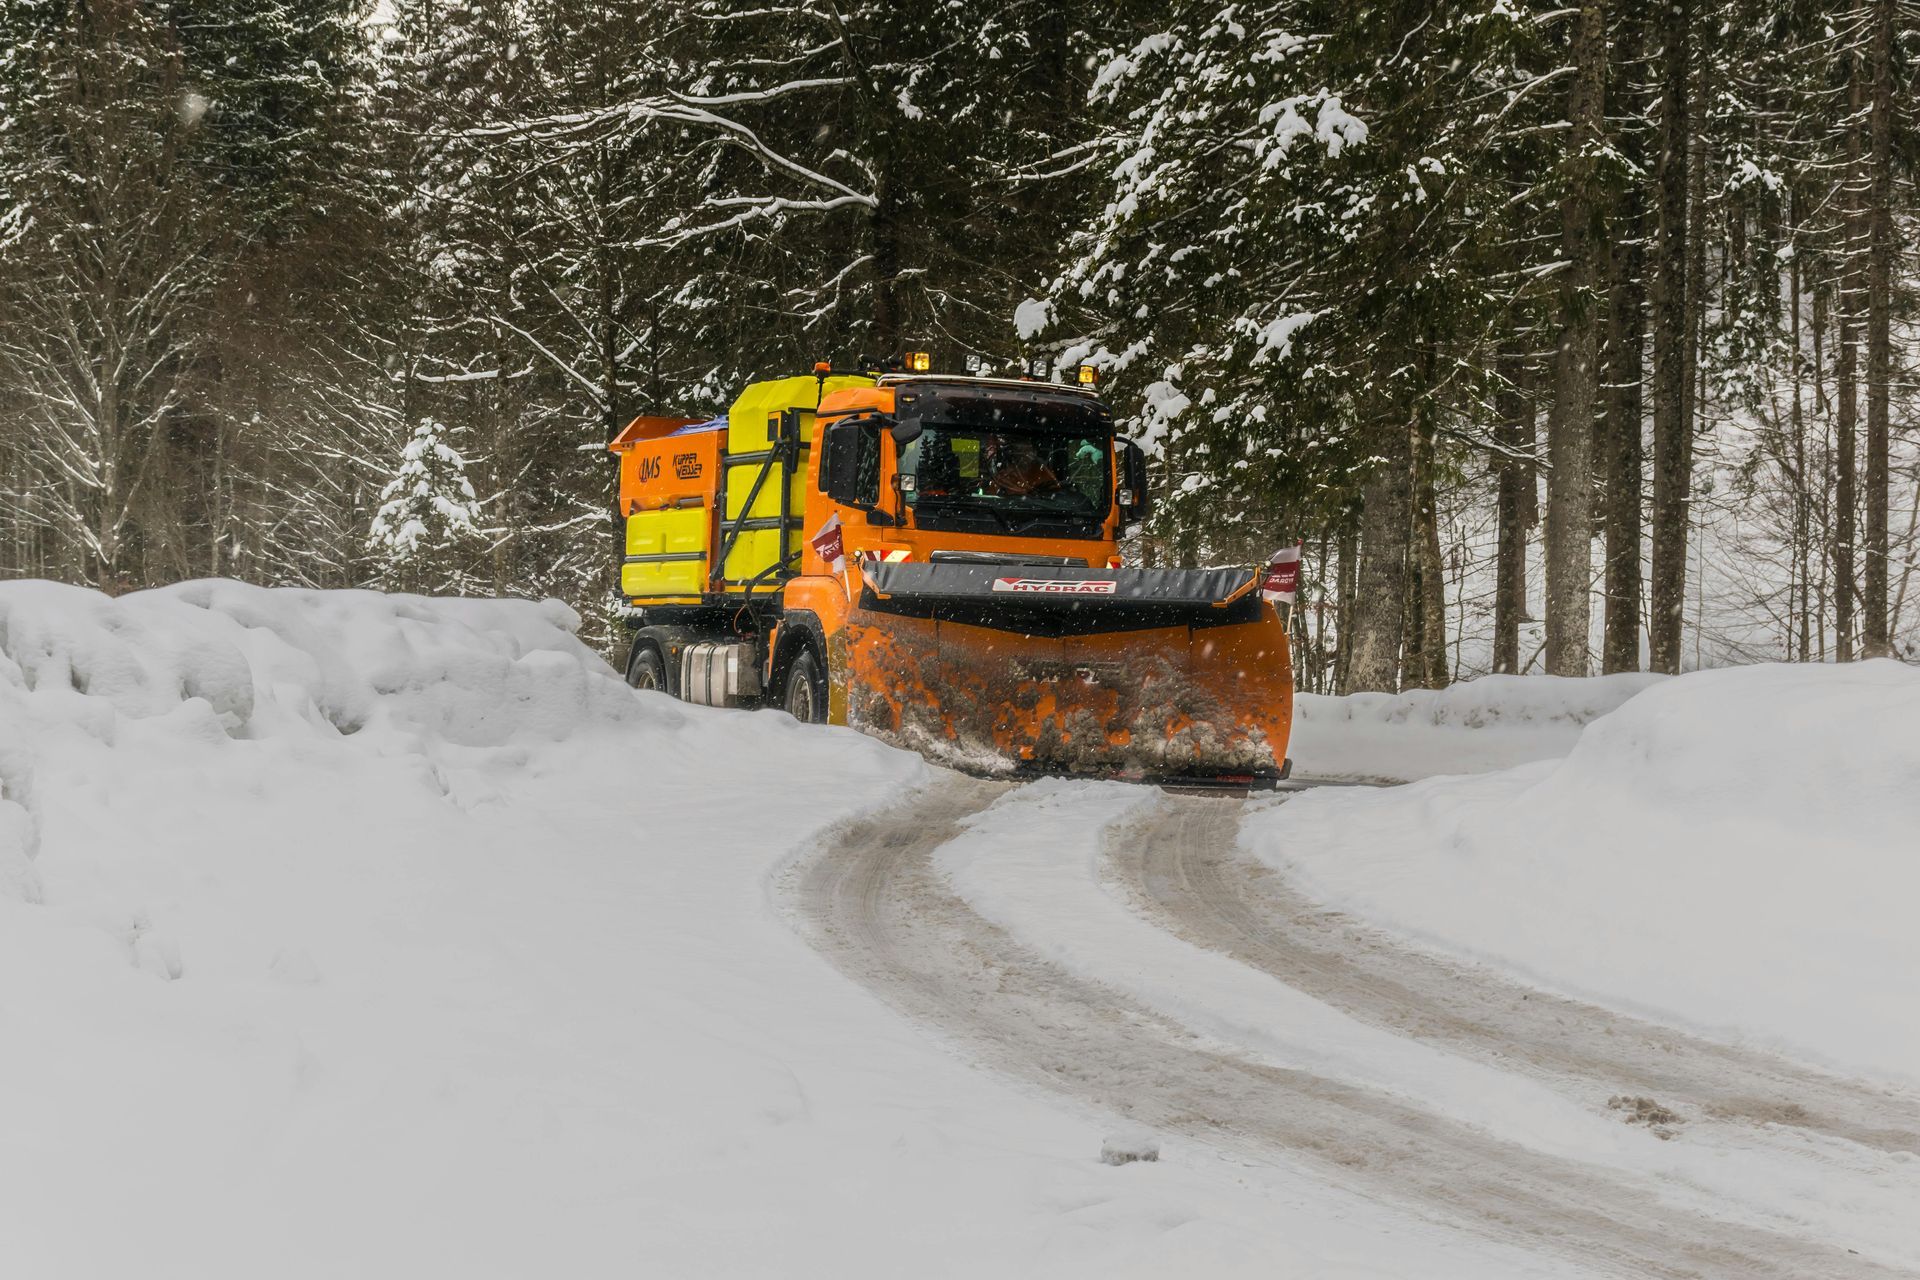
Snow Removal
Our team is fully equipped to handle all commercial snow removal services. We know how to handle the harsh New England weather.
Get a Free On-Site Estimate
Real Pave Tech LLC Reviews
What Makes Us Different From Other Asphalt Paving Companies In Newton Ma?
Quality is Our Passion
Pricing Transparency
We will give you a full quote before digging into any project.
Licensed & Insured
Our team is fully insured and licensed to operate in Massachusetts.
Project Timeline
We will make sure to give you a detailed list on project completions. See our reviews.
Quality Asphalt Material
All we use is high quality materials and supplies when on your project.
On-Going Maintenance
Just like anything else your property will require maintenance. We will be happy to provide a checklist after completion.
Our Company
Whether large or small, your project involves many crucial details—from ground preparation and contouring to prevent drainage issues that could cause long-term damage, to surfacing and adding the final aesthetic touches. To ensure every detail is handled with precision, you need a reliable contractor and a skilled team of expert asphalt pavers and masons with the knowledge and experience to complete each step flawlessly.
Still Have Questions?
Feel free to request a call back by using our form or simply call us directly with all your questions.